Do you want to install Google Tag Manager in WordPress?
Google Tag Manager is a free tool used to add code snippets to track conversions, events, and traffic and gather other analytics data.
In this article, you will learn how to install the Google Tag Manager with its setup.
Google Tag Manager is a free tool that allows you to add code snippets on the WordPress website from a dashboard. However, Website owners have to add multiple tags to track the clicks and conversions and gather other website performance data.
It has built-in templates, including Double clicks, Google AdSense, Google Analytics, and many more.
It saves the time of adding and removing code snippets from the code from a single dashboard.
Now, Let’s understand how to add the Google Tag Manager to WordPress.
*Please note that this guide is for self-hosted wordpress.org.
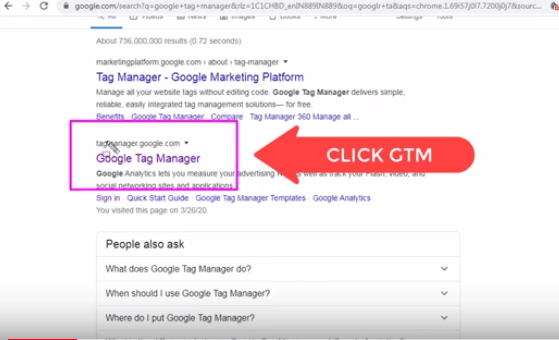
First, visit the Google Tag Manager website and sign up.
Once login is done, you will come to the new account page. Now, provide a name for your GTM account and click the continue button.
Now, type the name for the account and choose the country from the dropdown.
You can also share the data with Google anonymously. You have to click the check box and then scroll down.
Now, add a container, which may be your website, Android app, iOS app, and server. In this case, we will add the “Web”.
You can add your website’s domain. Once done, tap on the “Create” to continue.
Now, the Google Tag Manager terms of service agreement will appear. Read the agreement, click the checkbox to accept the terms and conditions, and then “Yes” at the top right corner.
You will see the container dashboard like the given image.
GTM will now create the account; it’s time to add the tracking code to the website.
Search for the Google Tag Manager for WordPress in the search bar.
Install and Activate the GTM for WordPress.
Once activation is done, go to the GTM settings.
Then, paste the GTM ID in the Google Tag Manager ID field. Click on save change.
Now, your GTM account is ready to create a tag. Check whether the GTM tag is implemented on your website or not by the GTM extension.
This article will help you to add GTM to your website.
> My Response is on my own site
> Image Sharing Sites
> Profile Submission Sites
> Edu Sites for Backlinks
> Ping Submission Sites
> PDF Submission Sites
> Social Bookmarking Sites
This post was last modified on July 26, 2024
Are you searching for the top Linktree alternatives? You’re in the right place. Back in…
Ever thought about getting paid for your opinions? Yes, it’s real! You can earn money…
Looking to Get Paid To Watch Videos Online 2025? Not surprisingly, some of the applications…
Non-Governmental Organisations (NGO) is very important and they fill the gap which government agencies and…
What if you could get paid just to listen to music? Sounds unreal, right? But…
How often have you encountered marketing and sales tactics while purchasing goods online? Like: “Hosting…
This website uses cookies.
Privacy Policy